
T. Wille's Hyper-Photogrpahy Blog
15 December 2013
Mobile
The Hyper-Photography mobile site is up and running with some new galleries and some new images.
Check it out at www.hyper-photography.com/mobile
Recent work:


01 August 2013
Apple Pancakes and Boxes
In December of last year I was working on a shoot and was moving an Apple Box or two around and as I held this enclosed plywood box I thought, “Why don’t I have a set or two of these?”
That is a good question to ask yourself if you are putting your own studio together. There is that feeling you get when you get to order new gear and it arrives all shiny out of the box. As anyone in this industry knows that gets expensive real quickly and gets old. The practice of getting what you need for your business and not having to shell out everything you have including the last few cents to your name is the way that, but how? If you cannot buy something you need then the next best thing is to make it.
How then do you make Apple Boxes?
I Googled Apple Boxes and learned a lot about them, mostly stuff I might use for a Friday night trivia game. The most important thing were the dimensions for a Full(usually just referred to as an Apple Box), Half, Quarter and an Eighth (aka a Pancake)
Full: 8 in. H X 12 in. W X 20 in. D
Half: 4 in. H X 12 in. W X 20 in. D
Quarter: 2 in H X 12 in. W X 20 in. D
Pancake: 1 in H X 12 in. W X 20 in. D
I now had a better idea of what to make, now how do I make them? First I need to know out of what. Plywood. Seems easy enough, until you go to the store and see that there are nearly a dozen types and about that many sizes.
I decided to go with a birch plywood and use a stain and sealer in one. I used half in ply because it is easier to work with. However I would like to make a set or two of boxes out of ¾ inch ply and use the half inch for the sides.
After ripping and cutting the 2 sheets of plywood down into the right size pieces I took the ends of the Full and Half boxes and cut handles into them. I also cut a support piece for each of the Full, half, and Quarter boxes. After sanding the handles rounding and smoothing the edges I assembled the boxes.
Once glued and brad nailed together I rounded and sanded all the outside edges and corners. (Last thing I would want is to have a sharp edge on a box that is in the middle of a set where a kid is being photographed). After filling all nail holes, cracks, and blemished, the next step was to sand, starting with 100 grit sandpaper, then moving to 150, then a final sand of 220. After a few coats of stain and a light sand in-between they are ready for propping up a dolly track or for an actor to stand on.
I have since made a few more sets of boxes out of regular plywood, it is a little bit rougher to work with but the end result with some care work out. These are painted black to not show up or reflect any light on set.
09 June 2013
From Ideas to Completed Projects
It has been over a year since my last post. I have been fairly busy, which is a good thing, with work and other projects, these will be discussed in future posts.
A project often starts with its most simplest of parts, the idea. The foundation of any project weather it is a short film or a photo series. After the idea comes, the first of many next to impossible tasks is finding a way to get started. The most important thing is not what the project is or how well it’s done, but is to start and finish a project to completion. I think in photography, design and other arts, the biggest problem after getting an idea is to start it then the next would be to finish it. The skills needed are really just an afterthought. You can learn those along the way. Often too many times what is overlooked is the basics, what do you know how to do to compete this task. Building off that is a key to finishing. There will be times when something goes wrong, something doesn’t work, something gets screwed up. The bright side is now you have learned what not to do or another way of doing something to get you closer to your goal. What if the project fails? Luckily that’s not the worst that can happen. It can be a rather good thing. Just move on and go about the next project differently, plan a little more and try something new.
01 April 2012
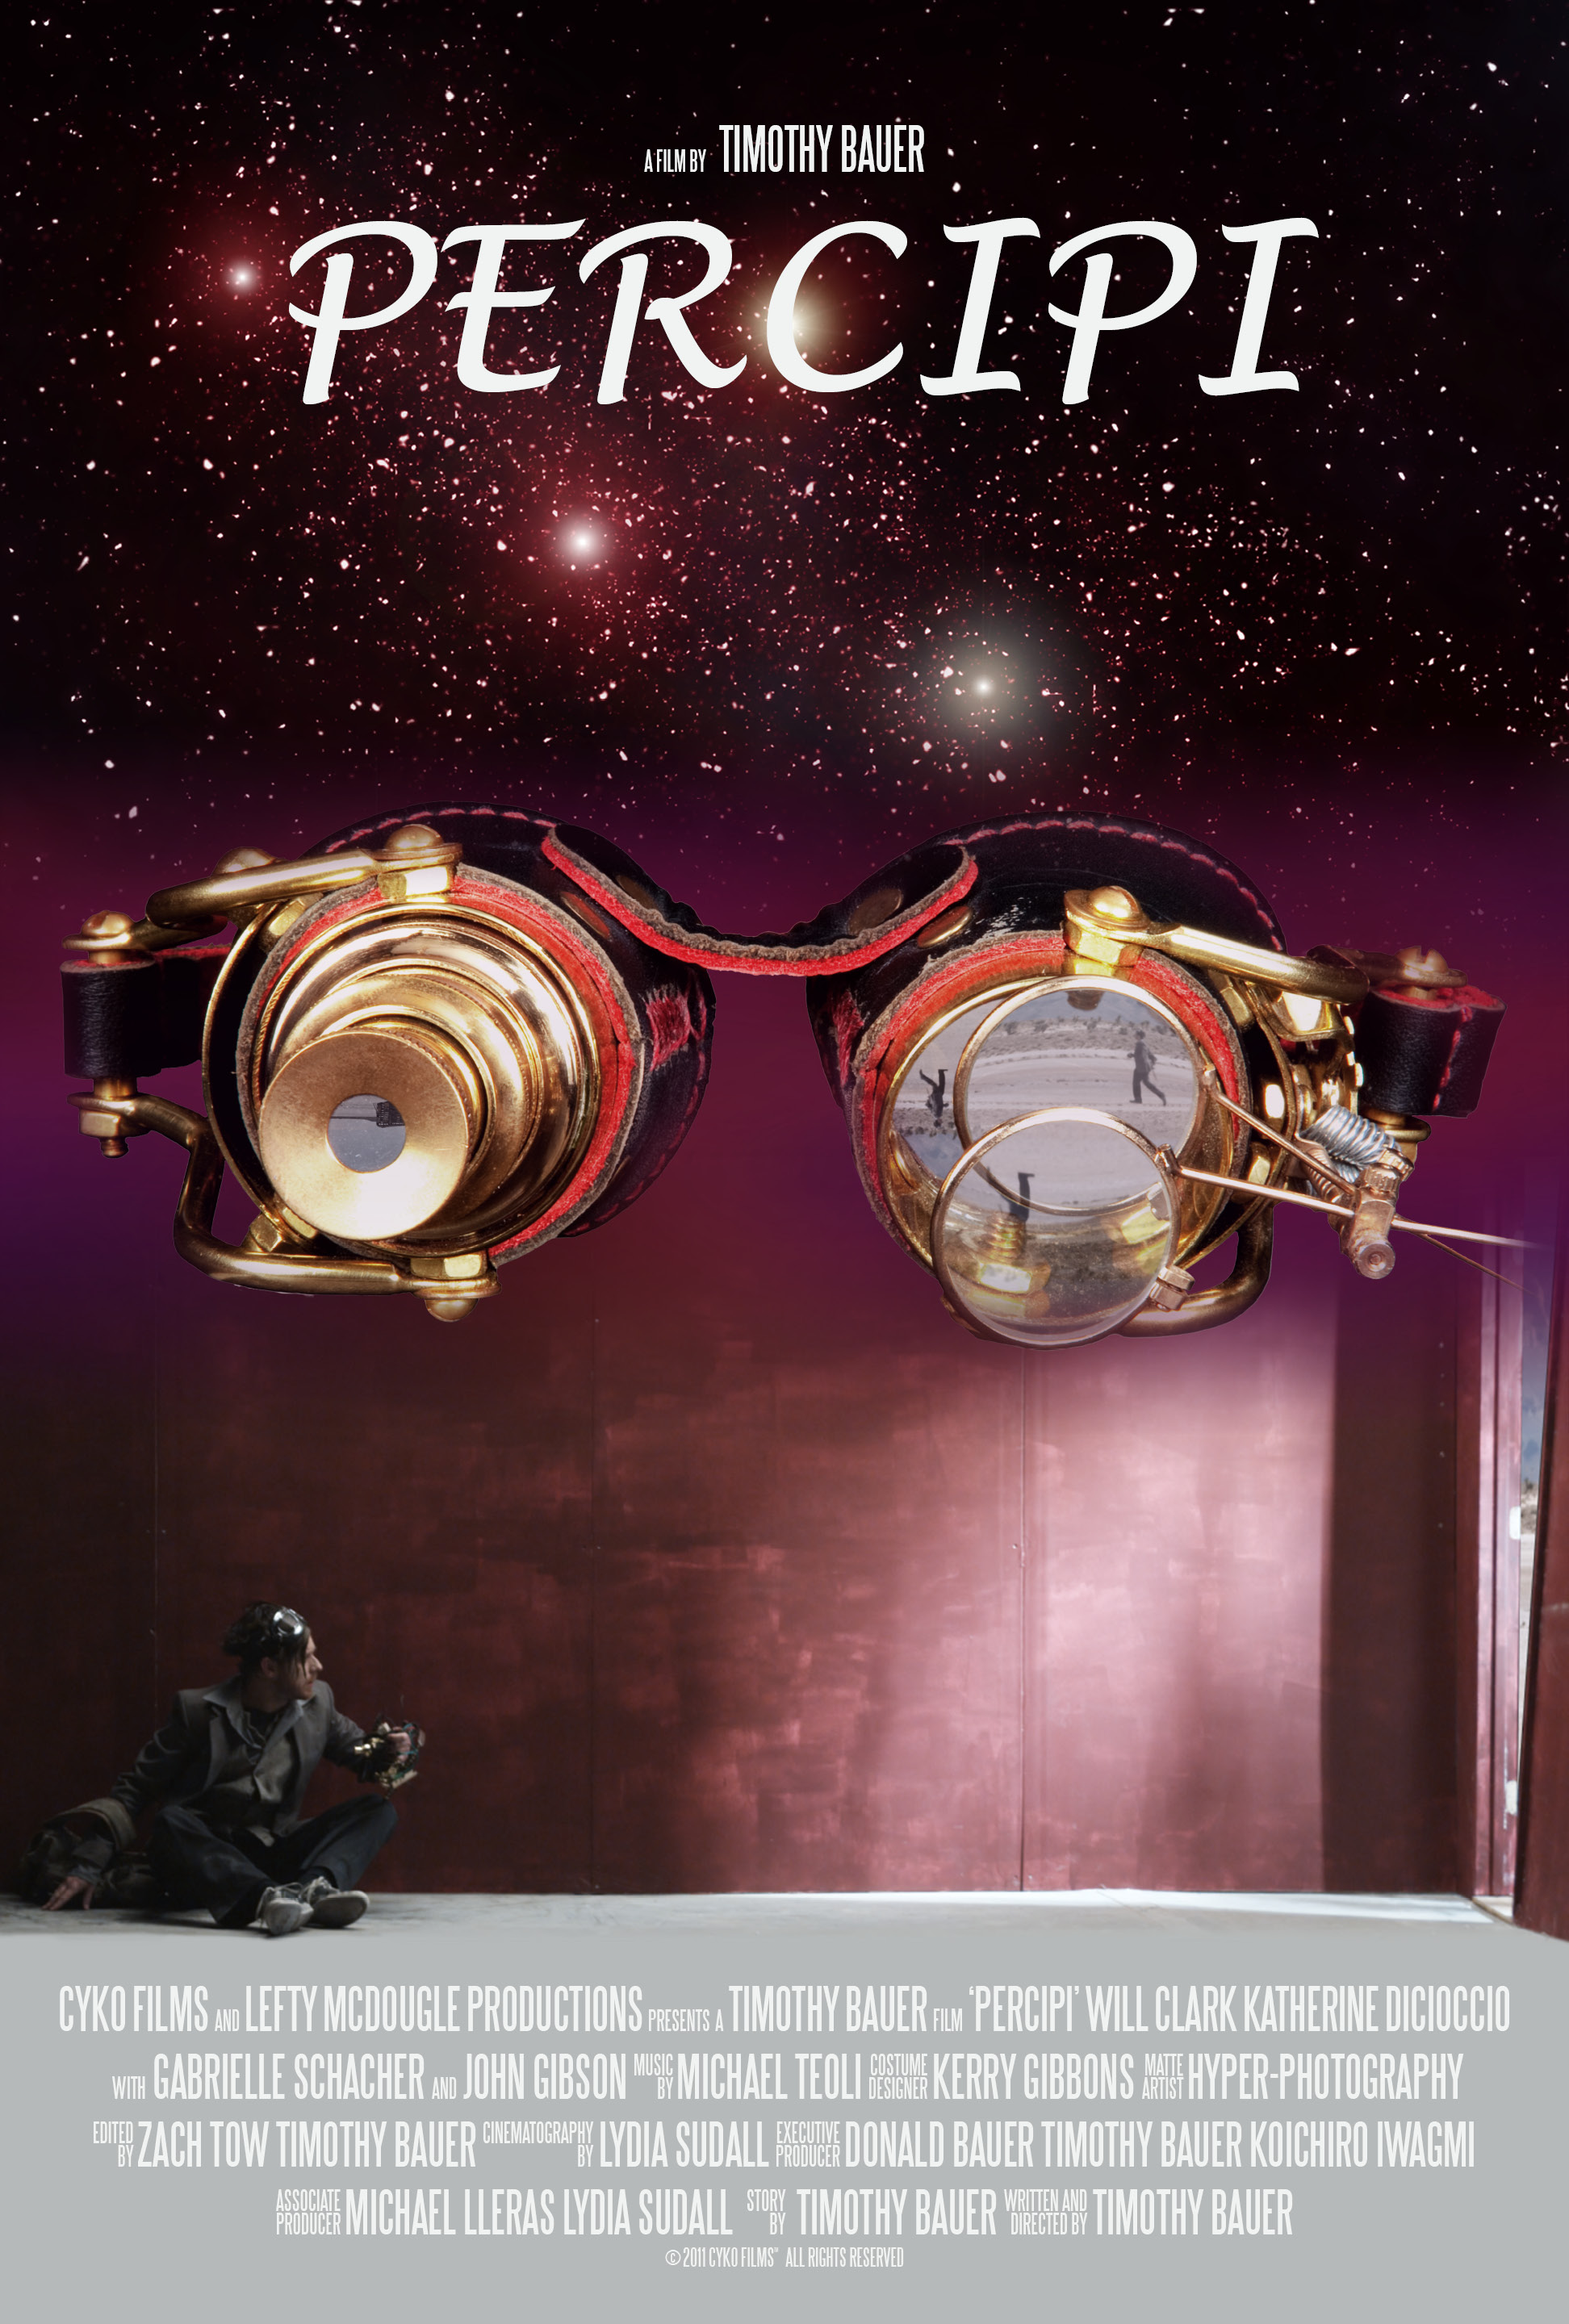
Percipi
A man hanging by the end of a rope attached to a shack in the middle of a desert reality. A prison of sorts, unable to escape this prison even by death, this is where Dexter finds himself unable to escape, unable to die. As Oberon walks up to him to let him know how foolish Dexter is acting, the short film Percipi opens.
My long time friend Tim Bauer has longed to make films, images racing across the screen at 30 frames a second. It isn’t fair really. He gets 30 a second. I only get one to tell my story. So I asked Tim if he needed a poster for the movie, he said sure. Getting a box of props form the movie, I found these goggles that screamed Steam Punk. I knew I had to use these in the poster.
 However, the movie was still being cut, I had not seen a rough cut yet. I had to figure out something to grab people’s attention when they see the poster but still relate to the story. Most of my ideas on the poster revolved around the goggles. Tim found a guy in LA to make them for around 200 bucks. They are well made and I love the looks and style of them. They are a major part of the plot in the movie but only are on screen for a short time, sad really since so much time and care was put into making them.
Having sketched out sever ideas I went about photographing a few props that spoke to me the most. I knew that I would have to shoot them in a way that would be easy to extract in Photoshop. One idea for the poster was to rebuild from scratch the shack and photograph it with the props. I wish time and budget would have allowed for that.
The end result of the poster ended up being based on one of the shots from the movie that took a lot of effects work to pull off. After I saw a rough cut and got a better idea about the tone of the film I could narrow down what the poster would look like. But before I could go further on the poster I addressed the effect shot with Tim. I thought it looked odd and a bit off. So Tim had me make a star field and a void to replace the effect shot. Using those elements and a capture from the RED footage I was able to make a poster I was happy with. It was a lot more Photoshop work than photo work, but it was a fun project.
After several long months I can finally put this one to bed. I was able to find the ‘movie poster’ font, which is called SteelTongs and is available here for download as freeware. With one last late night in InDesign and getting the text laid out and the poster is done.
19 Jan. 2012
Part Time Jobs and the Economy in the Shadow of Student Loans
This is a post that I have been meaning to write for a while now, since last summer.
It is important when starting your own business to have another source of income. Having a lot of time to set up your business is a good thing, but it is not in most cases practical. It is a wise idea to have a part time job to cover the basics, food, shelter, clothing and student loans. When looking for that part time job, anywhere that is hiring, is where to look. Don’t think that you are too good for a job, because the road to where you want to be will be paved with stones of things you may not want or like to do. If you want your business to succeed you will need to work from the bottom. It is where the majority of us has to and will start.
Even though the economy stinks on ice right now and the job our elected officials are doing is shameful to say the least, we cannot let that stop us from going after our goal. As a photographer that goal is to make images and get paid, or to have a successful studio. Times change, and it will get better so if you have to flip burgers, mop a floor, or work retail and have to put up with those that society has to offer, then so be it. It will make that studio taste that much sweeter, when things get better and jobs flow more freely that pay.
But as for student loans, well for those of us that took them (though we probably shouldn’t have and should have known better to take) you have to pay them. There is no way out of it. The best thing to do is to drive that crappy car another year and, sorry I have to say it, move in back home, and pay them off. The sooner that burden is lifted the better life will be. Some wants will have to be set aside for the time being. Although, there things we really would like to have, the best thing to have is a debt free life. Time will come later for the other things.
A college degree is not a guarantee that you will get the job you want or that you will start where you want. It is a means to get to the ladder. You will have to work hard to climb that ladder. The first several rungs of this ladder are as greasy as the burgers you might have to flip or as slippery as the wet floor you just might have to mop. Those are just a few bumps in the road when you try and run a business, others are taxes. As painful as those are, you have to pay them too.
There is no shame in working these kinds of jobs. They may not be fulfilling or yield the results you want, but you really are just looking for that pay check at these jobs to add a little more to the start up costs of your business. It won’t happen overnight but you will
make it with hard work, the drive and the right attitude. Everyone started somewhere, and a good place to start is the bottom, because there, you can only go upwards. It will not be easy and it will not always be fun. You might have to fail once, twice or even a few times but when you do it honestly and work the long hard hours it will pay off and that result in the good feeling that you made it is worth it and it is better to be working towards something you love than working for just a paycheck.
6 Jan. 2012
The Territorial Limits of an Elk Buck
Today was a fun and exciting day of shooting. Theo and I went to Lone Elk Park to drive around and to make sure the park up still open. The news that some parks in St. Louis County that might be closing at the first of the year was sad news to hear. I saw a flyer that said Lone Elk was to be closed as of the 1st of this year. To our surprise and delight it wasn’t. So in support of our local parks we drove in and started photographing, mostly out of the car windows at first.
After a while we saw across the water a grouping of elk and parked the car and walked to the dock. Theo photographed the elk on the hill where I went down the shore, round the bend and found the leader of the heard, the buck. He had been sitting on the ground in the shade when I tried to get close enough to get a decent image. I got Theo’s 70-200 and was able to get closer without getting too close. The buck had been moving closer to where we were and was digging in the brush with his massive rack of antlers.
Not too long after, the buck was walking my way and was in the yellow glow of the late afternoon sun. In the mist of magic hour, I pressed my luck trying to get as many shots off as possible. I looked up from the camera and the buck was telling me that I was in his territory and gave a jump. He wasn’t messing around, I hear Theo try to yell my name without causing any more noise to the situation, to not startle the beast. Eye to eye with an animal that is several hundred pounds heavier and feet taller, I slowly back away and give room to the beast. After the confrontation comes to a peaceful end, I still photograph as the elk moves to water’s edge to drink. I know that I have not bested him or think for a moment he is ignoring me. As he drinks, his gaze is upon my presence as I keep shooting, still testing my own nerve and the beats patience.
I only flinch a little at the height of the face off, but even though my nerves weren’t rattles I managed to frighten the handful of people that gathered around Theo. I was told that the others were shaken by what happened and how mad Theo was. He didn’t want his lens used as a weapon if I had to defend myself against a much larger advisory. I got the shot, and for me that is all that mattered. Theo later said that if I hadn’t got it he would have been pretty angry about the situation. If we, as photographers, don’t push the situation to get the photos that we want, then why pick up a camera. No one else got the close up of an elk buck drinking from the water. Boundaries need to be crossed at times to get those photos, boundaries of fear and comfort within limits and not throwing safety completely out the window.

20 Oct. 2011
Lightroom 3 and shooting tethered.
I know I have not posted a blog update in a while and shame on me for that. : ( I have two topics that I think really need a post that will be of use to college students and emerging professionals. I will probably post them as one topic soon.
As for Lightroom 3, I just got it from BandH about a week ago and installed it today. Immediately after it finished updating I had to try shooting with the tether capture feature. Having used Capture 1 pro and have seriously thought of buying it, I am glad LR 3 has tethered capture. Now people who like to shoot tethered don’t have to shell out the bucks to get decent software. As much as I like C1pro it cost a little too much. Cost is one of the reasons I went Windows over Mac, (another blog all on its own) which leads to another reason I like LR 3, I don’t have to buy a whole new computer setup just to get C1pro to shoot tethered. As with C1pro you can stay at the computer to fire test shots with a mouse click. What I would like to find is that you can hit a button on the keyboard to fire the camera. After Googling it, I cannot find a keystroke to fire the camera, maybe in Lightroom 4. Over all for an upgrade price of $90, it is not a bad investment to make for the sake of shooting tethered. Also LR 3 supports a wide range of Canon cameras from the 1D mark IV to the Rebel series. Now I just need to come up with a portable work station…
27 June 2011
Red Bluff – Davisville, MO
It was a nice cool summer weekend at Red Bluff. It wasn’t too hot like a typical Missouri summer. The water was calm and cool, a contrast to some of the flooding in other parts of the state. There were really only three things that I did while there; swam, relaxed, and photographed and pretty much at the same time. I was a little unnerving to wade thru water neck deep holding the camera above your head, but it made for some nice shots. The first night I finally photographed the stars, something I have wanted to do for as long as I can remember. On the next night, however, a storm put a stop to more star photo experiments. Photographing a storm building made the trip. It was an impressive storm and we were fortunate to be behind it and had only a light rain throughout the night.
23 June 2011
Hawks, Camping and Snow Cones
Today I was able to photograph one of a few hawks that call my neighborhood home. They seem to be pretty camera shy but the young hawk doesn’t seem to mind making a lot of noise. I hope there will be more opportunities to photograph the bird of prey in flight.
On to snow cones, Bob Hayden and I shot a commercial for the Snow Cone Lady last summer and the video is finally edited with music and all. Check it out on the video page, www.hyper-photography.com/video.html.
Theo and I head out to go on a photo camping trip tomorrow, something I have wanted to do for some time. A blog post will be coming when we return.
22 June 2011
Faust Park Schoolhouse
Yesterday, I had the privilege to photograph the newly restored one room schoolhouse at Faust Park. As a kid I have memories of going to the park and once I got into photography I shot many rolls of film there. I have since had the opportunity to work on a project photographically documenting the restored buildings there. There is a lot of history there and history is worth preserving. After this project is complete I may expand to other historical buildings and places in the area or maybe even the state of Missouri. Walking into the schoolhouse I was reminded of how my grandparents talked about school. The park has done a wonderful job in recreating the school setting of 100+ years ago. These photos will be a wonderful addition to the project.
18 June 2011
Website is now finished!
Over the last few weeks I have been working at getting my website to be in a presentable ‘finished’ state. Today that is where my site is at. It was a lot of fun learning things in Flash and in Dreamweaver. In two weeks I have learned to make a complete website. I plan on reading more and learning other things to make my site better. For now I am happy with where it is at.
Now it is on to getting more photo work. Theo Welling and I have project for the fall, however, I need to find work to fill up the summer. I want to start a portrait project to add to my portfolio.
8 June 2011
Website over haul
It has taken a lot more time than I had hoped, but my site is now getting to the point where it can be put together and published. I went ahead and registered my copyright for all of my current photos, anything shot digitally in the last 4 years.
6 May 2010
Finished with school
I have finished college with a degree in photography and have completed my internship at Kincaid Studios. It could go without saying that I am now in the ‘real’ world and the main goal now is to find work and to keep busy with work or other projects. Jay Fram had some good advice for me that made a lot of sense. To sum it up he advised to keep working on photo projects even if you are not getting paid work and if the project is a flop finish it and go on to the next one. The main thing is to complete projects and have work to show. Throughout the summer I will hopefully find projects to add more galleries and portfolios to my website and to continue to add and update the site.
6 May 2010
Where the ‘hyper’ in Hyper-Photography came from
During my first semester of college I was looking for a book to read in the area of science and I found a book on theoretical physics that was in plain English. The more I read the more I was fascinated by this area of science. I have always been science orientated but I really did not want to go through college and spend all my time studying. After another semester of school I bought a 35mm camera and took a photo class, eventually switching from my intended major of film to photography.
After taking all the photo classes I could I got into the science of it. With my wide imagination I quickly connected theoretical physic objects to photography. The most widely known is the hypercube. One of my pieces in my sculpture class was a hypercube ‘unfolded’ in the 3rd Dimension. Although it may be some time before a hypercube is photographed or proven to exist, photographing with long exposures is a way to express some of the concepts of theoretical physics.